
")


For the past few years, WordPress has become a trending blogging site for every blogger. Be it in the field of art or science, food or photography, national or international- WordPress is one of the few places where you will find blogs and articles based on different domains and niches. Ever since the online blogging portal started becoming famous, developments have been made in the infrastructure of the application.
One such development is the addition of a separate media node under the WordPress admin dashboard named- WordPress Media Library. You cannot only view the various media elements uploaded previously with your posts but also add more new elements to your library.
New media can be added to the library via the “Add New” screen. Is there any such automated media download button that will help you download the present media from the library without any fuss?
Unfortunately, it’s not that easy!
Again, it’s not impossible too!
All you need to know is that there are three ways to download the media elements from your WordPress Library. However, these three processes have their pre-requisites that have to be fulfilled before you can see the success sign against the download message.
So, without wasting any more time, let’s learn the three ways in which you can download pictures or videos to your system from the WordPress media library.
There are three main methods:
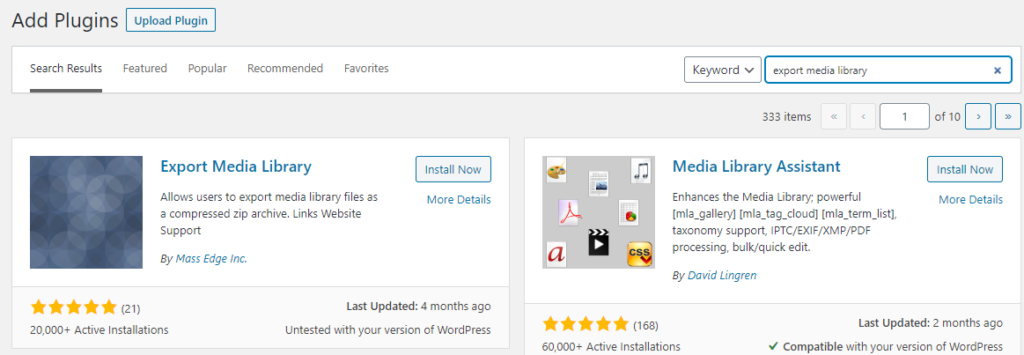
- Install the Export Media Library plugin.
- Download via FTP.
- Use File Manager in cPanel.
External Export Plugins:
One of the best ways to download media files from the WordPress Media Library is by downloading a plug-in to your system. Once you have downloaded it, you will be able to directly save the media files from the library, albeit in a compressed zip format. But before that, here is the step detail of installing the plug-in in your system.
- Navigate to the WordPress dashboard – Plugins – Add new.

- Search the plugin name and then install it. Don’t forget to activate the plugin before use.
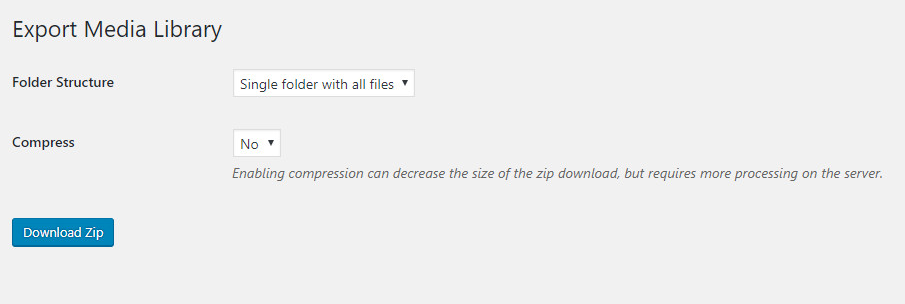
- After installation, move to Media and then Export.
- Once you will be redirected to the Export Media Library Settings page, you will have to change the configuration- folder structure and the compression size.
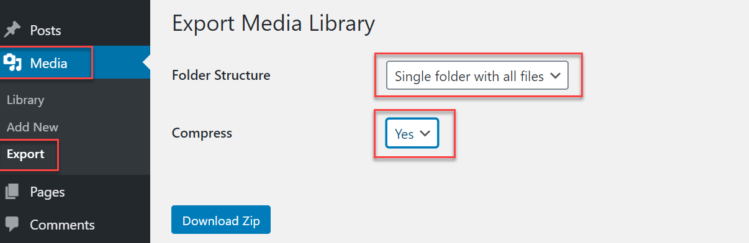
- After changing, click on “Download Zip” and the entire media will be downloaded to your system.
FTP Channel:
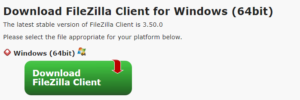
For the File Transfer Protocol process, you will need an authorized FTP client that will allow you to access the WordPress Media Library from your system without even opening the browser. FileZilla is one of the best FTP channels that you can download to your system.
- Download FileZilla and install it in your system.
- Open the application and fill up the information on the top bar- Host, Username, Password, and Port. You will get these information pieces in your cPanel. Once filled in, click on QuickConnect.

- The remote site panel will be enabled. Move to ‘wp-content’ and then open the ‘uploads’ folder.

- Drag the concerned file from the remote site to a dedicated folder present in the local site panel.
C-Panel of the Hosting Domain:
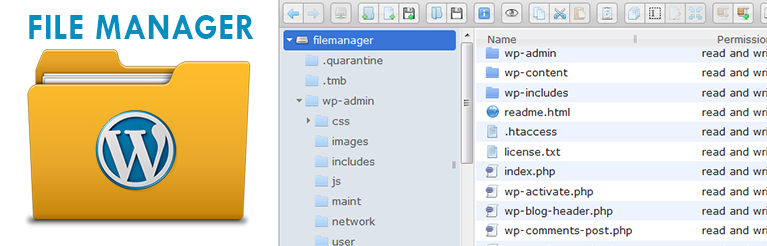
If your hosting provider is giving you access to the cPanel of the WordPress website, it will be easier for you to download the media files from the file manager portal. cPanel is a potent tool that allows the user to complete control over the domain. File Manager present in the panel will enable you to compress the media files and then download them to your local disk.
Final words:
You can download media elements from the WordPress library using any of these three methods. All you need to have is a plug-in or access to the cPanel of your hosting site.


